This article is for taking attendance on Classroom App.
In this guide, we shall learn to record attendance using the Bitsmith Classroom app. You can use the attendance feature for taking attendance of your lectures or any event conducted on the Classroom app. Attendance is automatically generated.
Prerequisites
Kindly, install the Bitsmith Classroom app or your institute’s classroom app on your device. Make sure that you have staff access or a class teacher’s access.
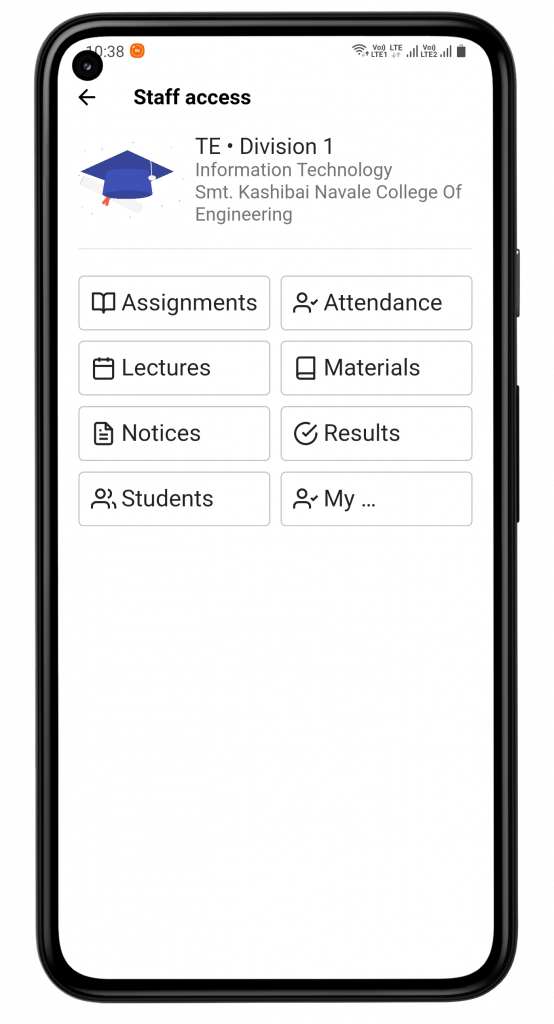
Step 1 — Enter Staff Access Of Given Classroom
You can see a list of subjects of staff access to various classrooms. Select the one which you want to take attendance of. You will be able to view different options including attendance, assignments, notices, lectures, etc.
Staff Access Page
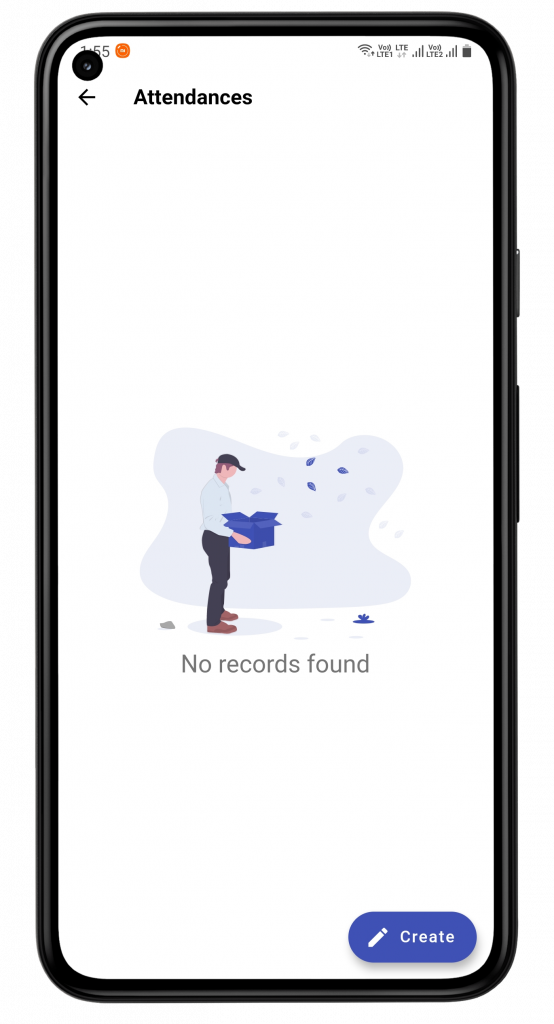
Step 2 — Choose Attendance & Tap on ‘Create’
After clicking on Attendance, you will be able to locate Create at your right bottom. Tap on it. When attendance is created, you will be able to see them here.
Staff Access Page
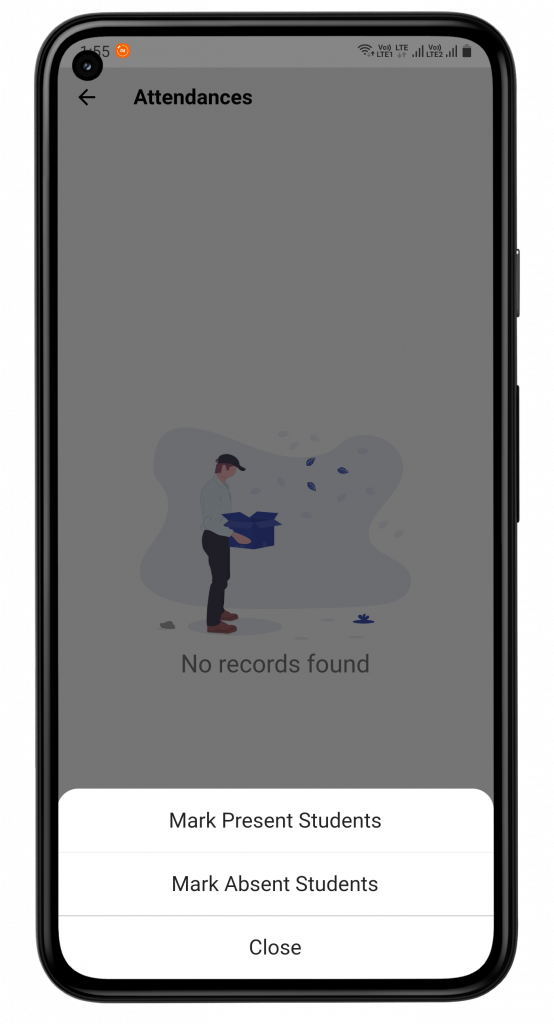
Step 3 — Select Your Choice From Bottom Sheet
After tapping the Create button you will be shown a bottom sheet in which you’ll be asked to Mark Present Students or Mark Absent Students. If you select Mark Absent Students then initially all the students will be marked Present and you can seeP besides the names of all the students in the Students List. Similarly, if you select Mark Present Students then initially all the students will be marked Absent and you can see Abesides their names.
Attendance Bottom Sheet
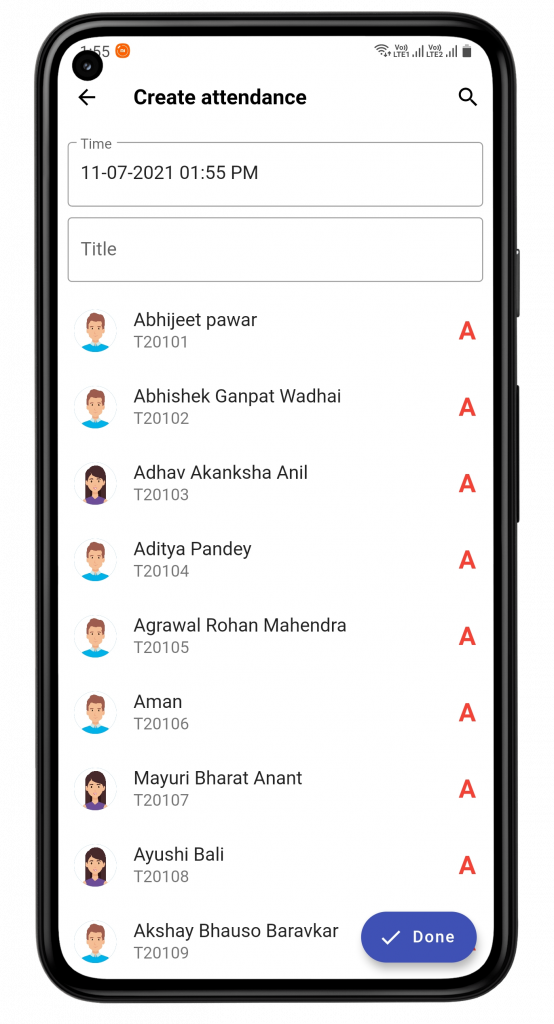
Step 4 — Fill The Information & Create
This is the final step of creating attendance. Fill in the required information, like Time, Title. Then, below that, you shall see the list of students, marked accordingly. You can also mark it yourself just by clicking on their names. In the bottom sheet (Step 3) we selected Mark Present Students so all the students are initially marked absent and then we just need to tap on students who are present so their attendance will be marked as present. After taking attendance just click on the Done button at the bottom and your attendance will successfully be generated
Create Attendance Page
When you create an attendance, students receive a notification about their status.
For better clarification, refer to the tutorial shown below:
Conclusion
In this guide, we learned to create an attendance.
For an immediate next step, you can view/update already created attendance.