This article is based on how to upload study material(documents) using Classroom App.
Note: This feature can only be accessed by Staff.
In this guide, we will learn to upload material(documents) on Bitsmith Classroom.
Prerequisites
Kindly have Bitsmith Classroom app or your institute’s classroom app installed on your device. Make sure that you have a Staff access.
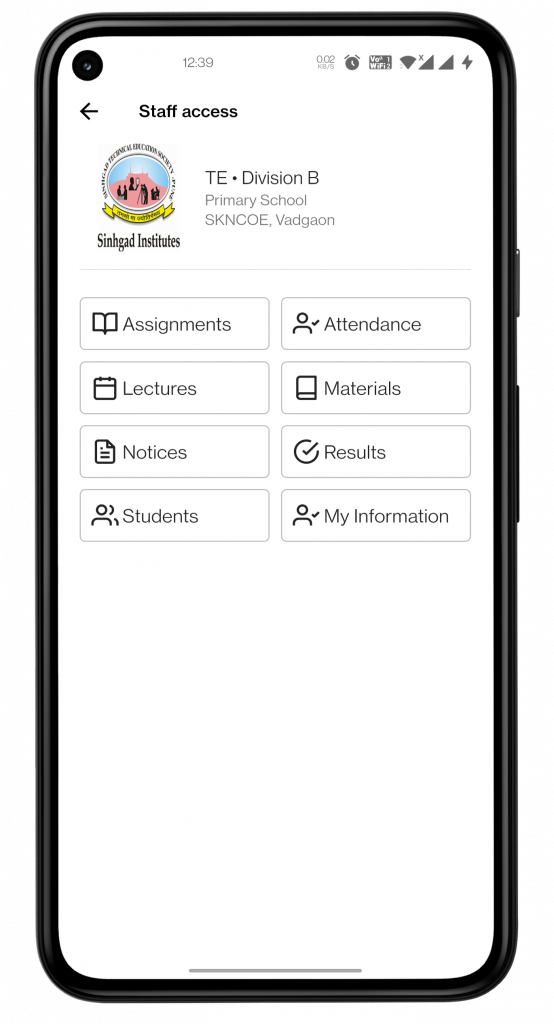
Step 1 — Enter Staff Access
Login using your credentials of a staff access. After that, you’ll be able to see the home page of your Institute. Select the subject you wish to upload the material of. Then you will be able to view the home page of staff access.
Staff access page
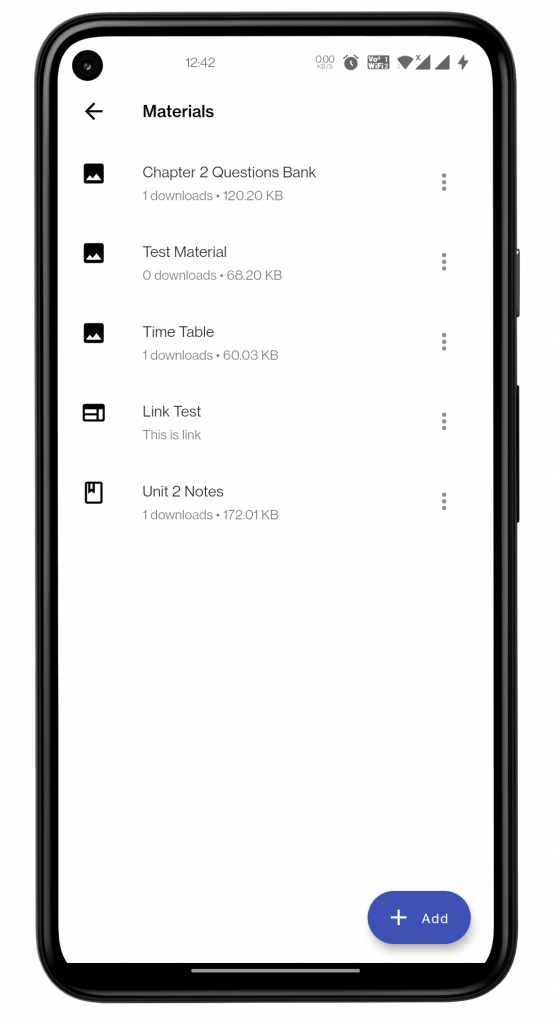
Step 2 — Click on Materials
After clicking on “Materials”, you will get to a page where you’ll see a tab “Add” on bottom right corner of your screen. Click on it to add a file.
Material page
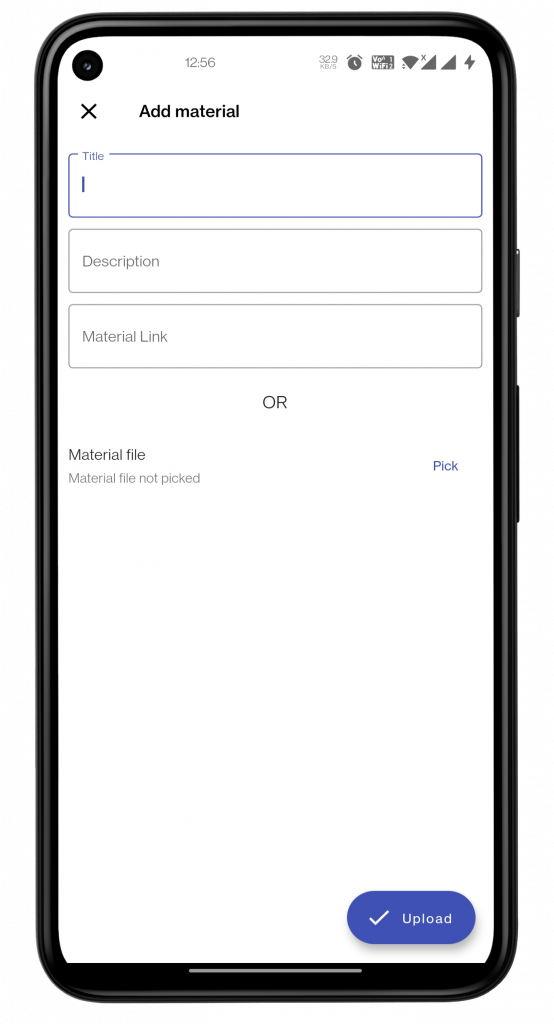
Step 3 — Fill the required information
After you click on “Add”, you will be taken to the next page where you’ll be asked to fill the required details about the study material you want to upload. Fill the “Title”, “Description”, material link(url of file/pdf) or directly upload the file/pdf.
Add material page
Step 4 – Click on Upload
Click on “Pick” to choose the file/pdf from your device. After choosing the file/pdf, click on “Upload” on the bottom right corner of your screen to finally upload the material.
Conclusion
In this guide, we learnt to upload the study material by using the Staff access in Classroom app.