This article is for creating Notice on Classroom App.
In this guide, we will learn to create a notice using Bitsmith Classroom. You can use notice feature for creating new notices and to view already created notices.
Prerequisites
Kindly have Bitsmith Classroom app or your institute’s classroom app installed on your device. Make sure that you are having either a Principal access, HOD access or Class Teacher access.
Step 1 — Enter Respective Access
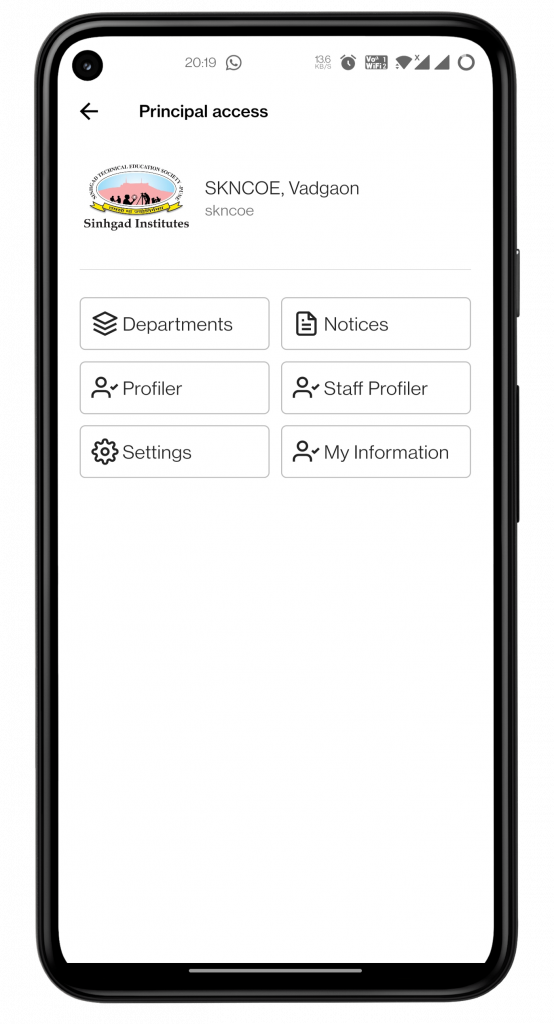
ou can see principal access for your Institute. Select the access, you will be able to view different options including departments, notices, profiler, staff profiler, etc.
Principal access page
Step 2 — Choose Notices & Tap on Create
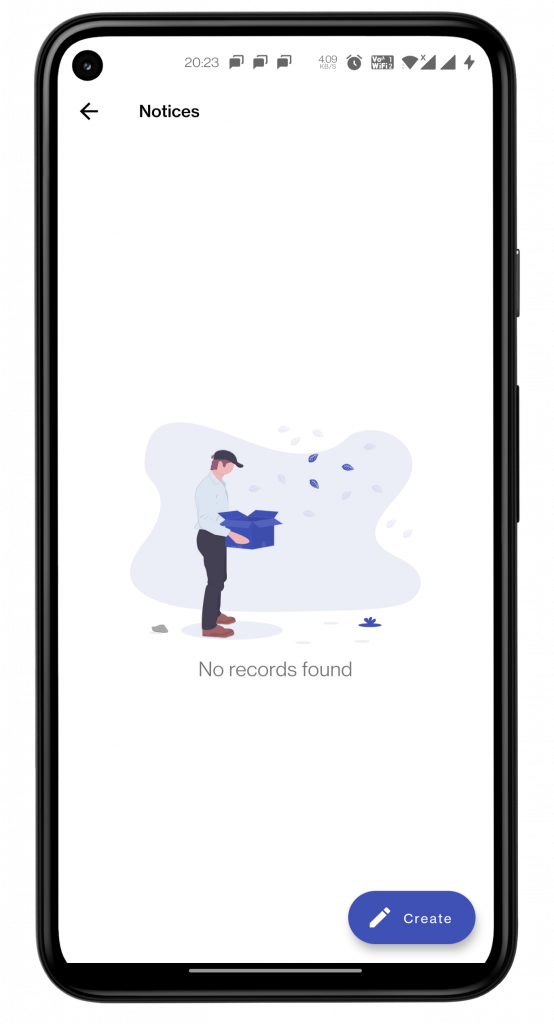
After opening Notices, you will be able to see Create button at the bottom. Tap on it. When notices are created, you will be able to see them there.
Notice Page
Step 3 — Fill The Information & Publish
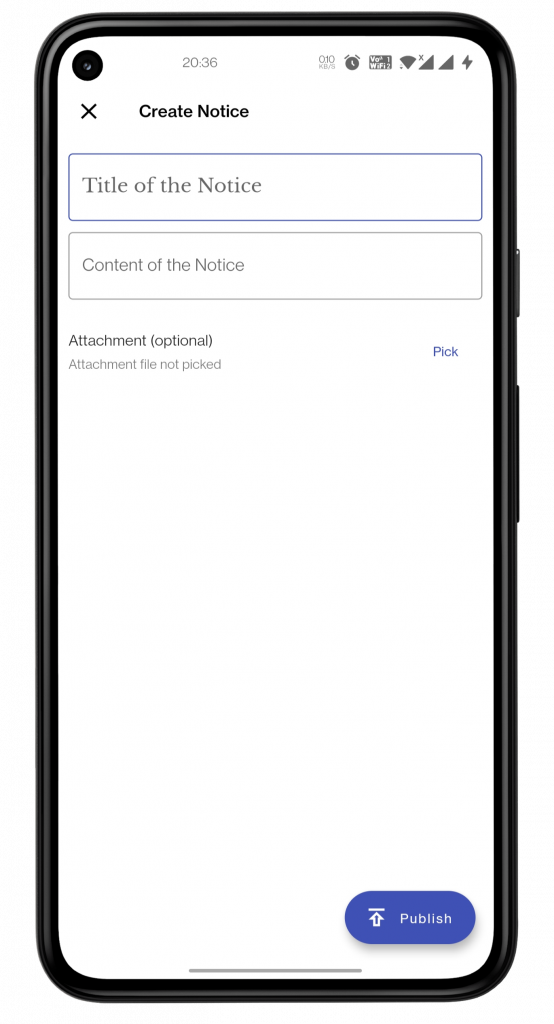
This is the final step of creating a notice. Fill the information that is being asked. Title of the Notice, Content of the Notice. You can also upload a file/pdf related to that notice using Pick.
Create Notice Page
Conclusion
In this guide, we’ve created a notice by using the Principal access, which is also possible for HODs and Class Teachers by using their respective accesses.