This article is based on creating assignment on Classroom App.
In this guide, we shall learn to create an assignment using Bitsmith Classroom app. You can use assignment feature for submissions, homework and other similar work.
Prerequisites
Kindly install Bitsmith Classroom app or your institute’s classroom app on your device. Make sure that you are having a staff/class teacher access.
Step 1 — Enter Staff Access Of Given Classroom
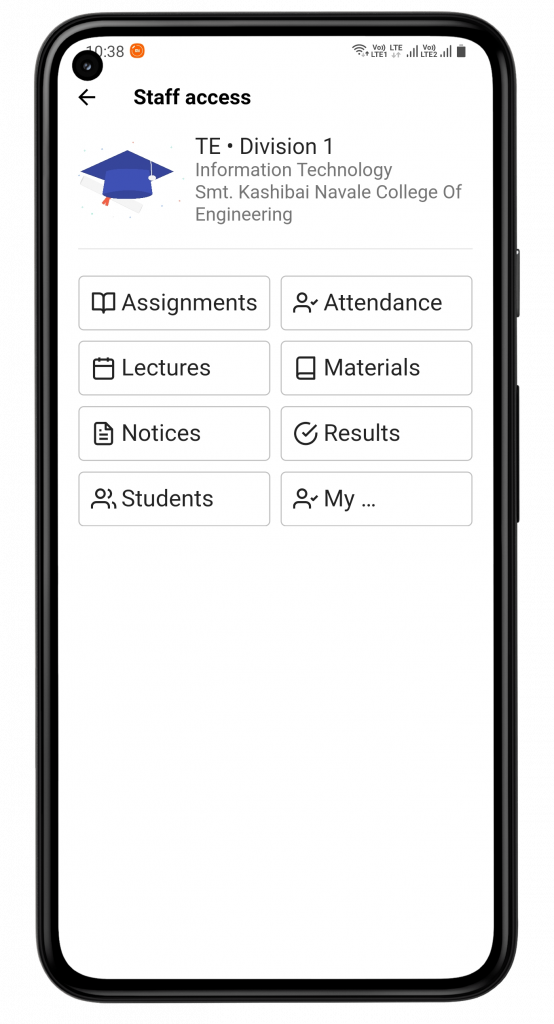
You can see list of staff accesses for the various classrooms you belong to. Select the access in which you want to create an assignment. You will be able to view different options including attendance, assignment, notice, lecture, etc.
Staff Access Page
Step 2 — Choose Assignments & Tap on Create
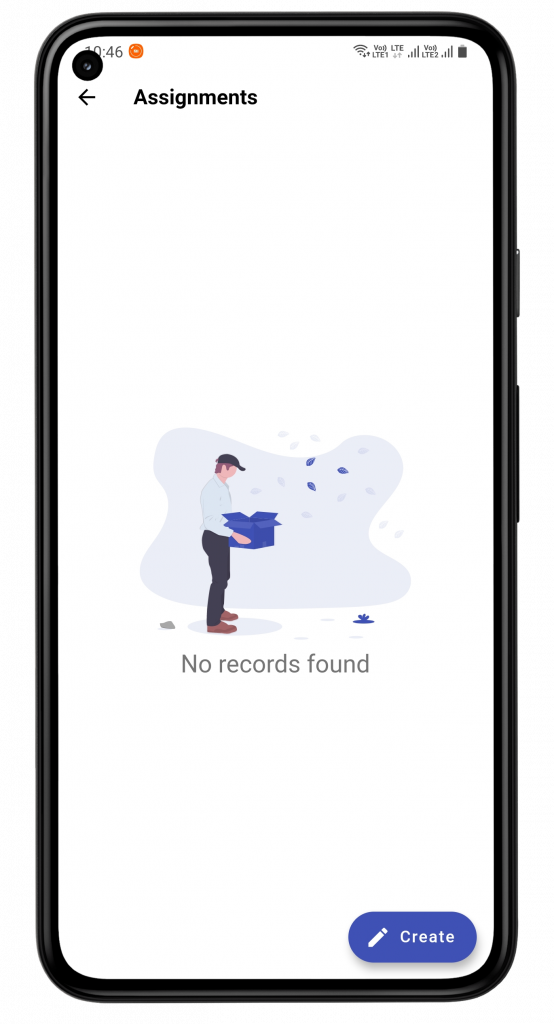
After opening Assignments, you will be able to see Create button at the bottom. Tap on it. When assignments are created, you will be able to see them here.
Assignment Page
Step 3 — Fill The Information & Create
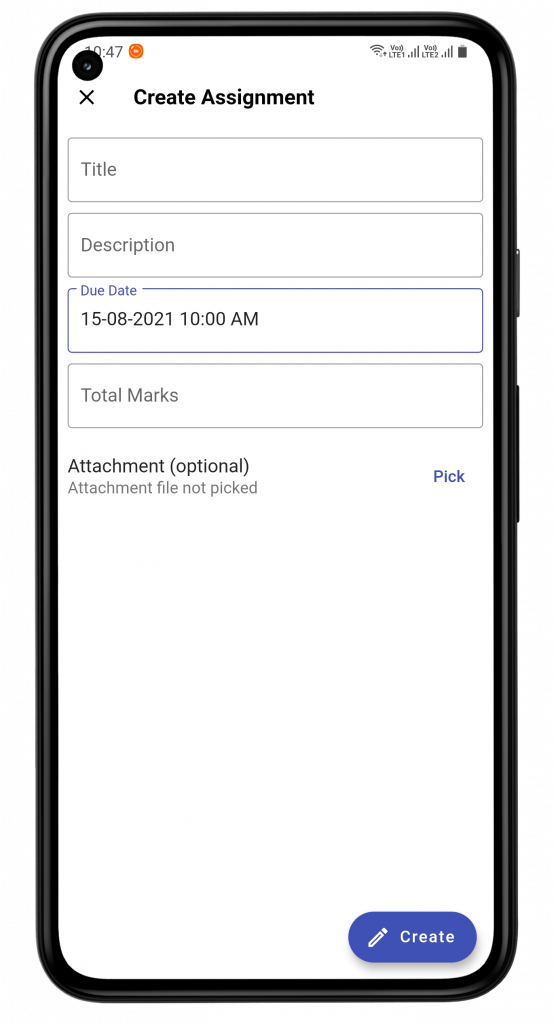
This is the final step of creating an assignment. Fill the information that you’re being asked for, i.e. Title, Description, Due Date & Total Marks. You can add Description too. To give students instructions or to give more information about the assignment. Due Date can be added as per your convenience and submissions received after the due date shall be considered as late submissions. If you want to grade a submission, you can give it total marks.
Create Assignment Page
When you create an assignment, students shall receive a notification about the new assignment along with the due date. You can view assignments and submissions in the Assignment Page.
Conclusion
In this guide, we’ve learnt to create an assignment for a subject where you can accept/reject a student’s submissions.
As an immediate next step, you can see, approve / reject all submissions for created assignment.